How to Use the Revivablade Pro
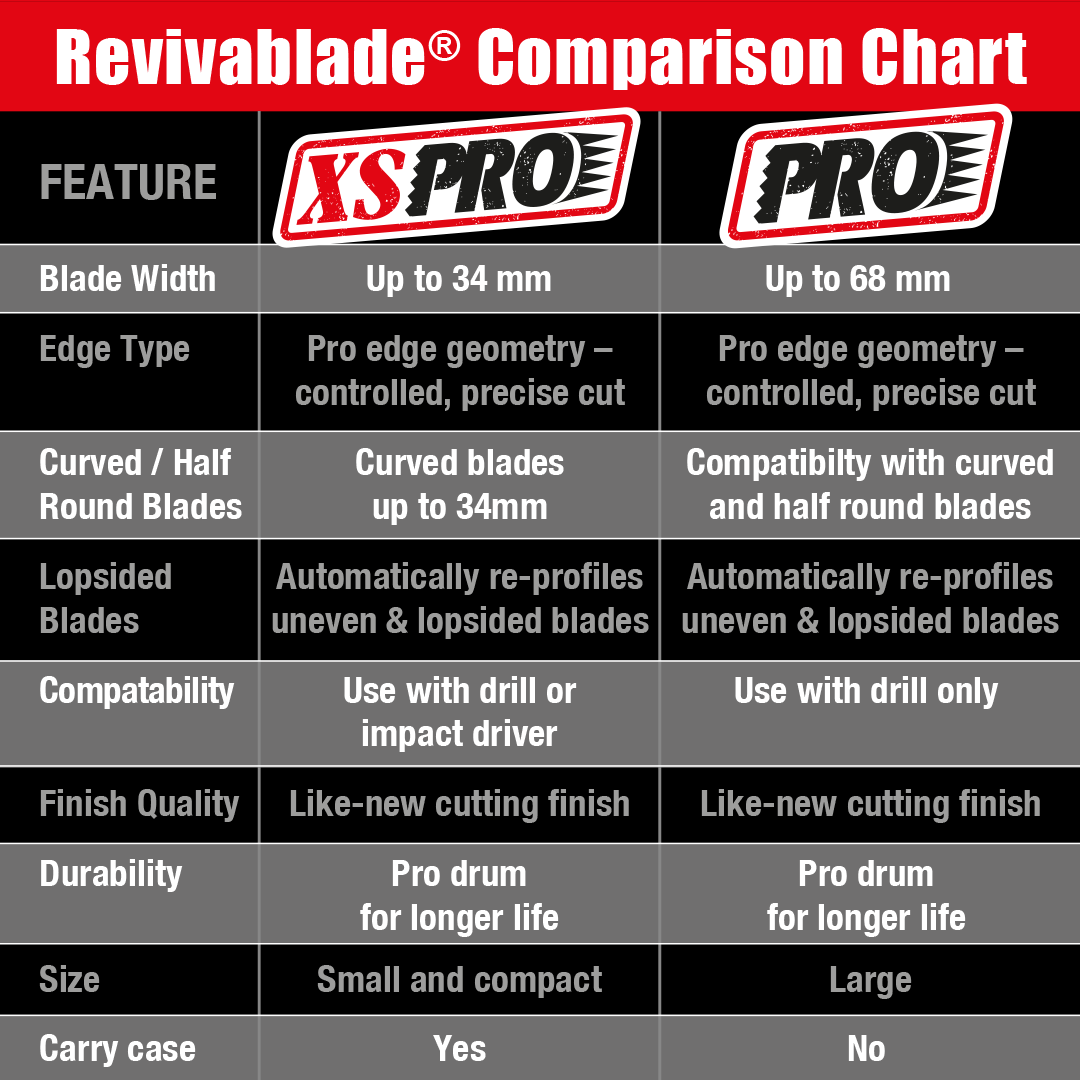
The Revivablade Pro sharpens oscillating multi-tool blades up to 68 mm wide, including wood, wood/metal, bi-metal, and titanium-coated blades.
It uses an advanced CBN sharpening drum delivering diamond-grade performance — the same professional-grade material used in the XS Pro — together with a built-in front support shelf. The shelf is a key feature of the Pro, helping you keep the blade at the correct sharpening angle for fast, consistent, repeatable results.
⚠️ The Pro is designed for use in a standard cordless drill only. It must not be used in an impact driver.
Set the Correct Rotation Direction
Your drill must be set to rotate in the direction shown on the side of the Revivablade Pro.
⚠️ The Pro operates in one direction only. Running it the opposite way will not sharpen correctly and can be unsafe.
For best results, use a drill speed of around 2,000–3,000 RPM. Slightly higher speeds are acceptable, but avoid running excessively fast.
Always check rotation and speed before bringing a blade into contact with the drum.
Position the Blade Using the Support Shelf
Place the blade on the front support shelf of the Pro with the blunt cutting end (the end you want to resharpen) facing the drum.
The shelf is designed to guide the blade at the correct sharpening angle — keep the blade resting flat on it while you work.
Slide the blade forward so the teeth contact the rotating drum squarely and evenly.
Apply firm, controlled pressure and hold the blade steady while the drum restores the cutting edge.
🔴 Important: The blade must remain flat on the support shelf at all times while sharpening. Do not tilt the blade upward, lift it off the shelf, or change the sharpening angle. The shelf sets the correct angle — your job is simply to keep the blade flat against it.
You can reposition the blade to a different area of the drum if you wish — it will naturally self-locate — but it must always stay flat on the shelf.
🔧 The Pro cuts its own precision tooth profile. It reshapes the edge to the Revivablade Pro tooth pattern, engineered for durability and cutting performance.
You cannot overcut or alter the tooth design — the drum will always produce the same profile. However, sharpening longer than necessary will still remove extra material, so watch the edge and stop once the teeth look clean and sharp.
Flip the Blade
Remove the blade, turn it over, and place it back on the shelf in the same way.
Give it a short, light sharpen to remove any burrs created during the main sharpening.
It’s fine to use a different part of the drum when flipping — the blade will self-align and sharpen evenly — just make sure it remains flat on the shelf.
Check the Cutting Edge
Inspect the blade after sharpening. The teeth should be even and clearly defined, and the edge should look sharp and consistent.
If needed, repeat briefly — but avoid unnecessary grinding.
Pro Tips
Let the drum do the work — don’t force the blade
Firm pressure is good, excessive force is not
⚠️ Always keep the blade flat on the support shelf — never tilt while sharpening
Repositioning on the drum is perfectly fine
The Pro always grinds the same tooth profile — stop once the edge is restored to avoid removing more material than needed
Used correctly, the Revivablade Pro restores cutting performance in seconds and significantly extends the life of your oscillating multi-tool blades.
Sharpen. Flip. Done. Back to work.